Table of Contents
- Health Risks of Sewage Backup in Home
- Causes of Sewage Backups and When to Act
- Immediate Safety Precautions Before Cleanup
- Sewage Cleanup Safety Gear You’ll Need
- Step-by-Step Cleanup Process for Sewage Backup
- When to Call Professional Sewage Remediation Services
- Post-Cleanup Verification and Mold Prevention
- Frequently Asked Questions
Last Updated: September 27, 2026
Health Risks of Sewage Backup in Home
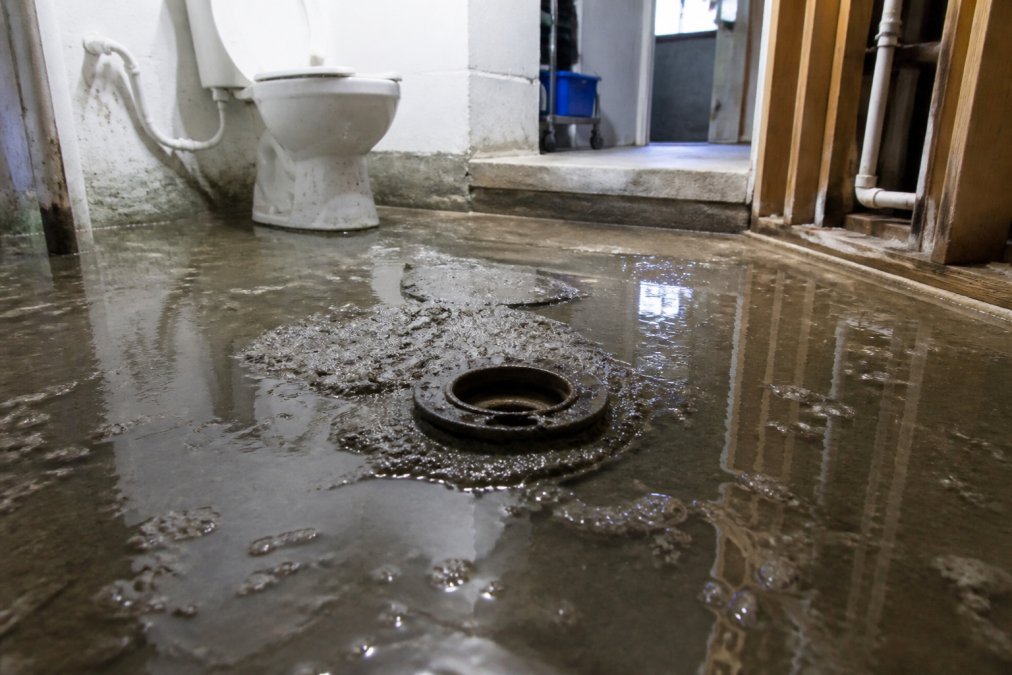
Learning how to safely clean sewage backup in basement is critical because it isn’t just an unpleasant mess. It’s a serious health hazard that demands immediate attention and careful handling.
Sewage contains harmful pathogens including bacteria, viruses, and parasites that can cause severe illness (the CDC). Exposure to these contaminants can lead to respiratory infections, skin infections, and gastrointestinal diseases. Some pathogens survive in contaminated materials for weeks or months, creating ongoing risk even after the visible sewage is removed.
The dangers extend beyond direct contact. Mold growth follows water damage quickly, sometimes within 24-48 hours (the CDC). Mold releases spores into the air that trigger allergic reactions, asthma attacks, and respiratory problems. People with compromised immune systems face even greater risk from both the initial pathogens and secondary mold colonization.
Cross-contamination spreads pathogens throughout your home if you’re not careful. Touching contaminated surfaces and then touching your face, food, or other areas transfers dangerous microorganisms. This is why professional guidance matters, one misstep can expose your entire household.
Never attempt to clean sewage backup in your basement without proper protective equipment and knowledge. The health consequences of improper cleanup can last for months or years.
Causes of Sewage Backups and When to Act
Understanding what causes sewage backups helps you recognize when immediate action is necessary.
The most common cause is a blocked sewer line. Tree roots penetrate pipes searching for water. Grease, hair, and solid waste accumulate inside drain pipes. Older clay or cast-iron pipes crack and collapse over time. Heavy rainfall overwhelms municipal sewer systems, forcing sewage backward through home plumbing.
A second major cause involves your septic system (if you have one). A full septic tank can’t accept more wastewater, so it backs up into your home. Drain field failure means treated wastewater has nowhere to go.
Timing matters. If you see sewage in your basement, act within hours. Pathogens multiply rapidly in warm, wet environments. Mold begins growing within 24 hours of water exposure. The longer sewage sits, the more damage spreads and the greater the health risk.
Call a professional immediately if you notice raw sewage in your basement. The 30-minute response time from Aquaflame Restores it means you won’t be sitting with biohazard material for hours while waiting for help.
Immediate Safety Precautions Before Cleanup
Before you touch anything contaminated, establish safety protocols.
First, stop using all plumbing fixtures in your home. Every drain connects to the backed-up sewer line. Using toilets, showers, or sinks forces more sewage into your basement and spreads contamination further.
Second, ventilate the space aggressively. Open windows and doors. Set up box fans to push air out of the basement. Ventilation reduces airborne pathogens and removes dangerous gases that can accumulate in sewage-contaminated areas. Proper air quality control prevents respiratory exposure during and after cleanup.
Third, keep children and pets completely away from the affected area. This isn’t negotiable. Their smaller body size means lower exposure levels cause greater harm. Pets are especially vulnerable because they lick contaminated surfaces and then their own fur.
Fourth, wear a respirator mask before entering the space. Do not use a standard dust mask, it won’t filter out pathogens. You need a properly fitted N95 or P100 respirator to protect your lungs from airborne hazards.
If you feel uncertain about any of these steps, stop and call a professional. Aquaflame Restores it’s IICRC-trained technicians handle these precautions as standard protocol, eliminating guesswork and ensuring your family stays safe while cleanup happens.
Sewage Cleanup Safety Gear You’ll Need
Proper protective equipment is non-negotiable when handling sewage contamination. Understanding how to safely clean sewage backup in basement means you cannot do it without complete PPE.
Start with respiratory protection. An N95 mask filters particles but won’t block all pathogens. A P100 respirator with cartridges provides better protection against both particles and chemical vapors. Fit the mask properly, gaps around edges let contaminated air bypass the filter. If you have facial hair, a tight seal is impossible, making professional cleanup the safer choice.
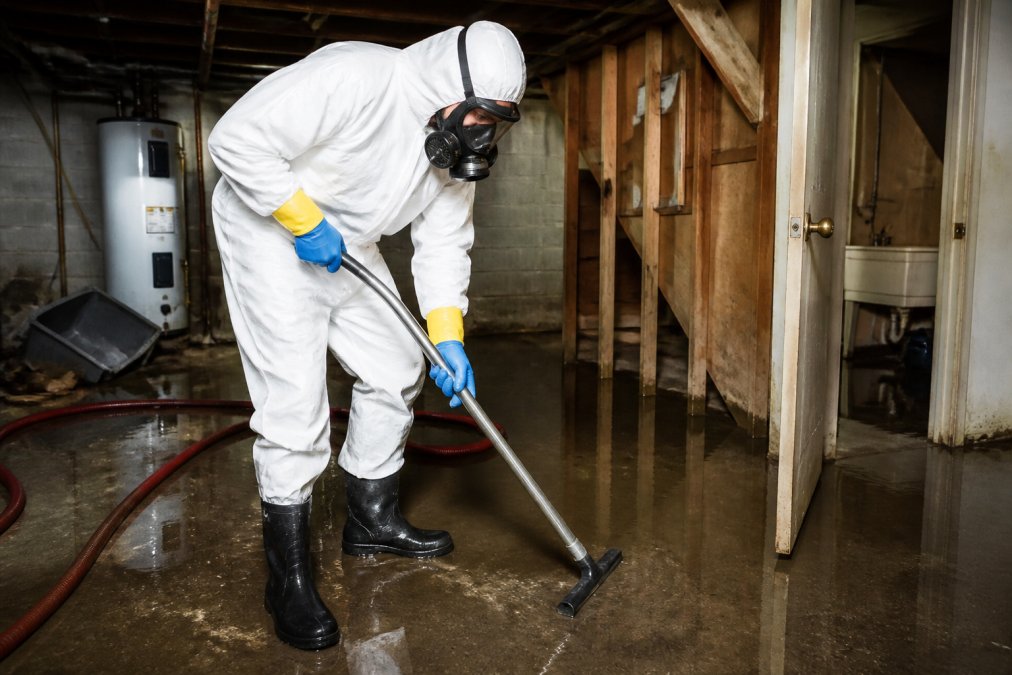
Next, protect your skin completely. Wear double gloves, nitrile gloves under latex gloves. If one tears, the second layer provides backup protection. Heavy-duty rubber gloves rated for chemical and biological hazards work better than thin latex. Change gloves frequently as they become contaminated.
Wear a full-body protective suit designed for biohazard cleanup. Regular clothing allows sewage to soak through and contaminate your skin. A disposable Tyvek suit or equivalent covers your entire body. Seal the suit at wrists, ankles, and neck so no skin is exposed.
Footwear matters too. Rubber boots rated for chemical exposure prevent sewage from soaking into regular shoes. Disposable boot covers over your regular shoes provide an extra layer. You’ll discard these after cleanup, so don’t use your good work boots.
Consider eye protection. Sewage splashes can reach your eyes. Safety glasses or a face shield prevents this exposure.
The investment in proper gear is minimal compared to the cost of treating a sewage-related illness. If you don’t have all this equipment or feel uncomfortable using it, professional remediation is the right call.
Step-by-Step Cleanup Process for Sewage Backup
Cleaning sewage backup requires a systematic approach to ensure safety and thorough contamination removal.
Before you start:
- Confirm all utilities are safe (no electrical hazards in standing water)
- Document damage with photos for insurance claims
- Have a disposal plan for contaminated materials
Removing Standing Water
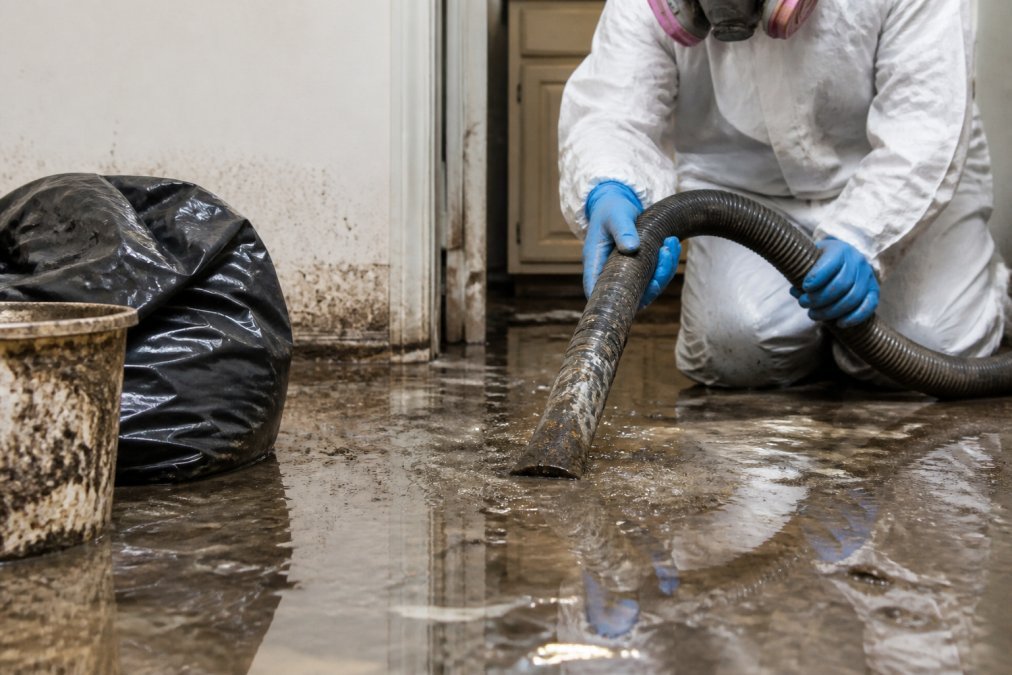
The first step is extracting standing water from your basement. Do not use a standard household vacuum or mop. You need a wet-dry vacuum rated for hazardous materials or a submersible pump designed for sewage removal.
A wet-dry vacuum rated for biohazards has HEPA filters that trap pathogens. Pump the standing water into sealed containers for proper disposal. Work slowly to avoid splashing contaminated water.
Alternatively, rent or hire a submersible pump. This pump sits in the water and forces it through a hose to an approved disposal location. Pumping is faster than vacuuming for large volumes. Direct the discharge away from neighbors’ properties and storm drains.
Never dump sewage-contaminated water into storm drains or your yard. Contact your local health department for approved disposal locations. Many municipalities have hazardous waste facilities that accept sewage-contaminated water.
After water removal, the cleanup continues. Moisture remains in concrete, drywall, and other porous materials. This trapped moisture supports mold growth and keeps pathogens viable. Dehumidification and air scrubber equipment removes remaining moisture and airborne contaminants.
Cleaning and Disinfecting Surfaces
Once standing water is gone, cleaning and disinfection begins.
Start by removing all contaminated materials that cannot be saved. Porous materials like drywall, insulation, and carpet absorb sewage and harbor pathogens deep inside. These materials should be discarded. Non-porous surfaces like concrete, tile, and metal can be cleaned and disinfected.
For non-porous surfaces, use a high-pressure sprayer to remove visible sewage residue. Follow this with chemical disinfection. A solution of chlorine bleach and water kills pathogens on hard surfaces. Mix one part bleach to nine parts water for general disinfection. Let the solution sit for 10 minutes before rinsing thoroughly with clean water.
Some facilities require a low-sudsing detergent first to remove organic matter before disinfection. The detergent breaks down sewage residue so disinfectant can reach all surfaces. Rinse completely after each step.
Pay special attention to corners, cracks, and areas where sewage pooled. Pathogens hide in these spots. Scrub thoroughly and apply disinfectant multiple times to ensure complete sanitization.
Ventilation during this process is critical. Open windows and run fans continuously.
Disposing of Contaminated Materials
Contaminated materials require special handling and disposal.
Porous materials like drywall, carpet, padding, and insulation cannot be adequately disinfected. These materials absorb sewage deep inside where disinfectant cannot reach all pathogens. Remove and discard them. Do not attempt to salvage these items.
When to Call Professional Sewage Remediation Services
Knowing when to hire professionals prevents health risks and ensures proper cleanup.
Call a professional immediately if:
- The sewage backup covers more than a small area
- You feel uncomfortable handling biohazard materials
- You lack proper protective equipment
- Sewage has been sitting for more than a few hours
- The backup involves your septic system
- You have health conditions that increase vulnerability to pathogens
Professional remediation is not optional for large sewage backups or if you lack experience and equipment. The health risks of improper cleanup far outweigh the cost of hiring trained specialists.
Post-Cleanup Verification and Mold Prevention
Cleanup doesn’t end when the visible sewage is gone. Verification and mold prevention determine whether your basement truly is safe.
Frequently Asked Questions
What are the main health risks of sewage backup in a home?
Sewage backup exposes you to dangerous pathogens including E. coli, hepatitis A, and Cryptosporidium that cause serious illness. Inhalation of airborne contaminants can trigger respiratory infections, and skin contact with sewage leads to bacterial infections and dermatitis. Mold growth develops rapidly in damp conditions left after backup, creating additional respiratory hazards. Even brief exposure without proper protective gear poses significant health risks.
Is it safe to clean up sewage backup myself, or should I hire professional sewage remediation services?
Small backups (less than 10 gallons in contained areas) with no health vulnerabilities may be manageable with strict safety protocols. However, professional sewage remediation services are strongly recommended for larger spills, multiple rooms, or if anyone in your home has compromised immunity. Professionals have specialized equipment like air scrubbers and submersible pumps that homeowners lack, ensuring complete decontamination and proper hazardous waste disposal that meets regulatory standards.
What sewage cleanup safety gear do I need if I handle cleanup myself?
Essential sewage cleanup safety gear includes an N95 respirator or higher-rated mask, nitrile gloves (double-layered), eye protection, waterproof boots, and a full-body protective suit or apron. Respiratory protection is critical because pathogens become airborne during water removal and surface cleaning. Avoid cloth gloves and cotton clothing, which absorb contaminated water. Proper PPE prevents cross-contamination and protects your respiratory system from harmful microorganisms.
How do I disinfect my basement after a sewer backup?
After removing standing water, apply a 1:10 bleach-to-water solution (1 cup bleach per gallon) to all affected surfaces, letting it sit for 10 minutes before scrubbing. Focus on porous materials like drywall and wood, which absorb contaminated water and may require removal if saturation exceeds 24-48 hours. Non-porous surfaces like tile and concrete respond better to disinfection. Use low-sudsing detergent for final rinse, then ensure complete drying with dehumidification to prevent mold growth and verify sanitation.