Table of Contents
- How to Prevent Wood Rot in a Crawl Space: A Step-by-Step Plan
- Signs of Wood Rot in a Crawl Space You Should Not Ignore
- Find the Moisture Source: A Diagnostic Sequence
- Step 1: Look for standing water and wet soil
- Step 2: Check the foundation walls and floor for seepage
- Step 3: Trace plumbing and the A/C condensate line
- Step 4: Inspect the access door, vents, and rim joist
- Step 5: Test the wood itself with a moisture meter
- Measure Humidity and Wood Moisture Before You Repair Anything
- Crawl Space Moisture Control: Ventilation, Encapsulation, or Dehumidification
- Crawl Space Encapsulation: What It Seals and What It Does Not
- Choosing a Crawl Space Dehumidifier That Actually Keeps Wood Dry
- Drainage, Gutters, and Grading: Stopping Water Before It Reaches the Foundation
- Treating and Replacing Damaged Wood Safely
- Frequently Asked Questions
Last Updated: October 15, 2026
How to Prevent Wood Rot in a Crawl Space: A Step-by-Step Plan
Wood rot in a crawl space starts with moisture, and it never stops on its own.
Here is the core rule: rot needs three things. Water, oxygen, and wood.
That is the whole job. Everything below serves that one goal.
Most homeowners call us after the damage is done. A sagging floor. A musty smell.
So let’s start with what you are actually looking for.
Signs of Wood Rot in a Crawl Space You Should Not Ignore
Common signs of wood rot in a crawl space include a musty or earthy smell, soft or spongy floorboards, discolored joists, and visible white or gray fungal growth on wood surfaces. Catching these early signs matters, because rot spreads along wood fibers and weakens the structure over time.
Watch for these red flags:
- A musty, damp smell rising into the living space
- Floors that feel soft, bouncy, or uneven
- Dark staining or white fungal threads on joists
The last one is easy to miss. Paint peels when wood stays wet from the inside.
Never ignore a musty smell in the crawl space. That smell means active moisture and likely fungal growth. Left alone, damaged wood can lose its load-bearing strength over time.
If you find any of these, do not start repairs yet. You need to find the water first.
Find the Moisture Source: A Diagnostic Sequence
A diagnostic sequence is the fastest way to find where water is entering a crawl space. Work the list in order, because each step rules out a category of source before you move to the next.
Step 1: Look for standing water and wet soil
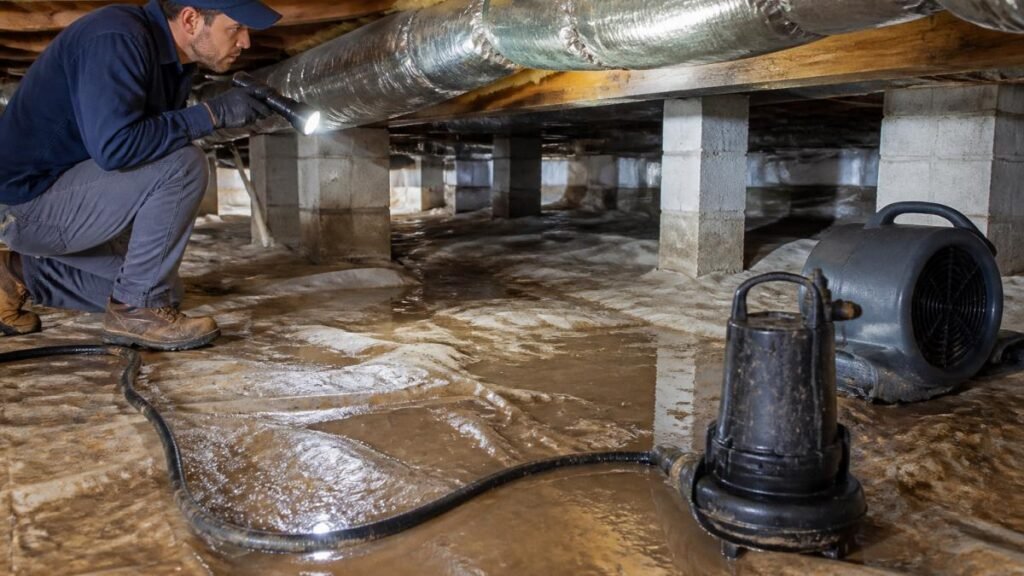
Bring a bright flashlight and look at the soil and any plastic sheeting on the ground. Standing water, saturated soil, or water beading on top of a vapor barrier points to a drainage or groundwater problem, not a humidity problem. Note the location relative to the foundation walls. Water along one wall usually means exterior grading or a downspout issue.
Step 2: Check the foundation walls and floor for seepage
Run your hand along the base of the walls and look for efflorescence, which is the white, chalky mineral deposit left behind when water moves through concrete and evaporates. Efflorescence is a reliable sign of chronic moisture movement, even if the wall feels dry the day you inspect. Also look for horizontal cracks, rust stains on anchor bolts, and dark tide lines that show how high water has risen in the past.
Step 3: Trace plumbing and the A/C condensate line
Slow drips are the most common hidden source. Follow every supply and drain line that passes through the crawl space, paying close attention to joints, shutoff valves, and any point where a line penetrates the floor above. The A/C condensate drain is a frequent culprit: if it terminates under the house instead of routing outside or to a drain, it dumps a steady trickle of water into the soil all summer.
Step 4: Inspect the access door, vents, and rim joist
Stand outside during or right after a hard rain and watch the access door and any foundation vents. Water that sheets down the siding, pools on a stoop, or blows in through an unsealed vent will show up as damp wood and staining on the rim joist and the first few feet of the floor framing. Check the weatherstripping on the access door and look for daylight around the frame.
Step 5: Test the wood itself with a moisture meter
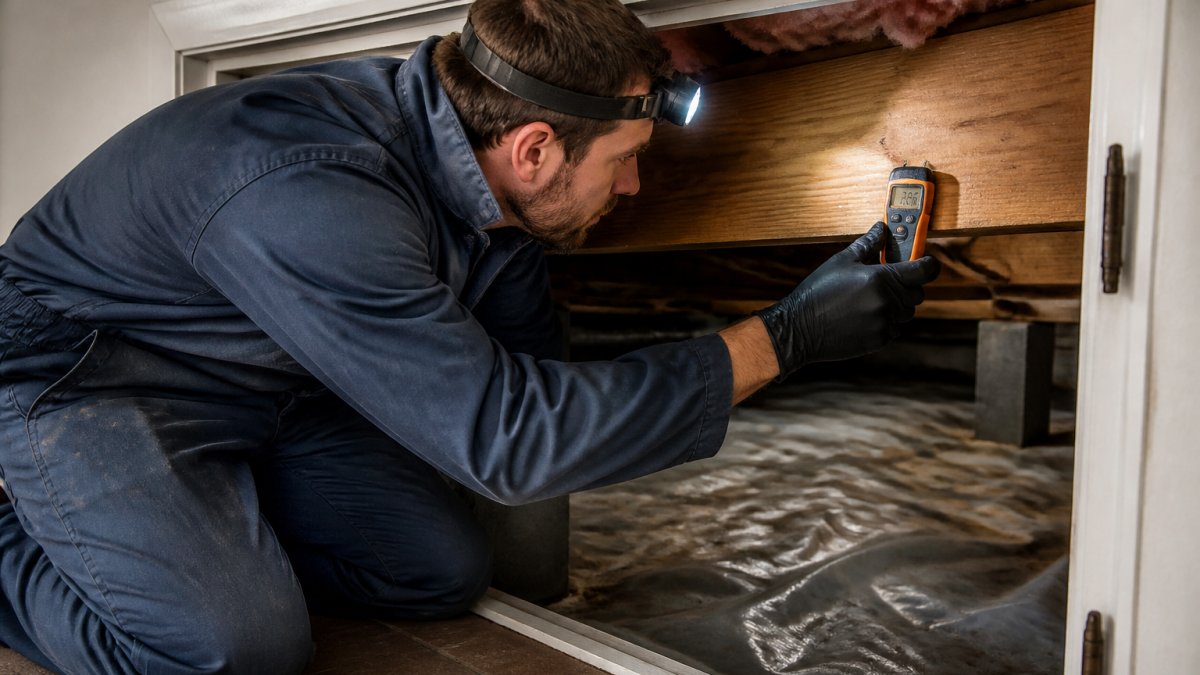
Once you have ruled out visible water, test the wood. Press a pin-type moisture meter into the joists, sill plate, and subfloor in several locations. Take readings in the same spots each time so you can compare later. If the wood reads high but you found no standing water, seepage, or plumbing leak, the source is airborne humidity, and the fix is ventilation, encapsulation, or dehumidification rather than drainage.
Measure Humidity and Wood Moisture Before You Repair Anything
Measure first, repair second. A crawl space humidity level above 60% supports mold and rot, while wood moisture content above 20% is the threshold where decay fungi become active. You cannot know if your fix worked without a baseline reading.
Use two tools:
- A thermo-hygrometer for air humidity (place it in the middle of the space, not against a wall)
- A pin or pinless moisture meter for wood (pin meters read deeper; pinless meters are faster on finished surfaces)
Write down your readings before you do anything else, along with the date and the outdoor conditions. Check the same spots after repairs to confirm the numbers dropped.
Photograph your meter readings and the spots you tested. When you compare before-and-after numbers, the photos remove any doubt about whether you tested the same location.
If you find any of these, do not start repairs yet. You need to find the water first.
Crawl Space Moisture Control: Ventilation, Encapsulation, or Dehumidification
Crawl space moisture control comes down to one of three approaches: ventilation, encapsulation, or dehumidification. Each solves a different problem, and picking the wrong one wastes money.
Here is how to choose:
| Approach | Best For | Main Limit |
|---|---|---|
| Ventilation | Drier, well-drained climates | Can add moisture in humid air |
| Encapsulation | Humid climates, damp soil | Needs a dehumidifier to finish the job |
| Dehumidification | Sealed or encapsulated spaces | Requires a drain or manual emptying |
In a humid climate, open crawl-space vents can pull damp outside air into the space (Unvented, Conditioned Crawlspaces – Building America Top Innovation). That can make the problem worse, not better.
If your vents bring in more moisture than they remove, seal them and encapsulate instead. In humid areas, a closed and conditioned crawl space usually beats an open, vented one.
Crawl Space Encapsulation: What It Seals and What It Does Not
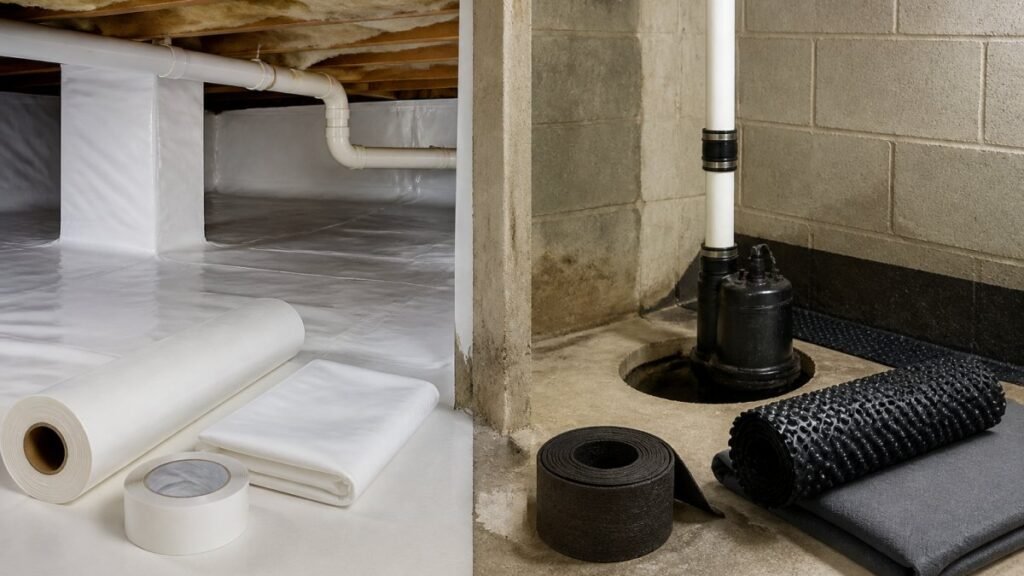
Crawl space encapsulation is the process of sealing the floor and walls with a heavy vapor barrier to block ground moisture and humid air. It stops new moisture from entering, but it does not remove moisture already in the wood or air. That distinction is the whole reason encapsulation is a system, not a single product.
When encapsulation is the right call
Encapsulation is the better choice when the crawl space sits over damp soil, when the climate is humid, or when open vents have been pulling in more moisture than they remove. It is usually the wrong first move when the real problem is exterior water: a downspout dumping at the foundation, soil graded toward the house, or a failed perimeter drain.
A simple decision rule:
- If the soil is damp and the air is humid, encapsulate.
- If the space is dry but the air is humid, a dehumidifier alone may be enough.
- If water is entering from outside, fix drainage and grading first, then decide.
What a proper encapsulation job includes
A complete job is more than rolling out plastic. It typically includes:
- A vapor barrier thick enough to resist punctures and foot traffic, sealed at every seam and at the walls
- Wall coverage that runs up to the sill plate or higher, depending on the installer’s approach
- Sealed or covered foundation vents, if the space is being closed
What encapsulation does not do:
- Dry out wet wood on its own
- Replace a dehumidifier in a sealed space
- Fix an active leak or poor exterior drainage
Think of it as a lid on a pot. It keeps new steam out, but it will not dry what is already wet inside.
How to verify the job worked
Verification is the step most homeowners skip. After encapsulation, recheck the same humidity and wood-moisture spots you recorded before the work. Air humidity should settle below 60%, and wood moisture should trend toward the teens over several weeks. If readings stay high, the likely causes are an unsealed seam, a vent that was missed, a dehumidifier that is undersized or not draining, or a moisture source that was never fixed.
Do not judge an encapsulation job on the day it is finished. Freshly installed plastic and disturbed soil can throw off readings. Give the space a few weeks, then compare against your baseline.
Encapsulation is a moisture-blocking system, not a drying system. Pair it with a correctly sized dehumidifier, verify with meters, and fix exterior water first.
Choosing a Crawl Space Dehumidifier That Actually Keeps Wood Dry
A crawl space dehumidifier removes moisture from the air in a sealed space, which keeps wood below the 20% moisture threshold where rot takes hold. The right unit is sized to the space and drains itself.
Look for these features:
- A low-temperature rating so it runs in cool crawl spaces
- A built-in condensate pump or drain line
- A humidistat to hold a set humidity target
A common mistake is buying an undersized unit. It runs nonstop and never hits the target. Size it for the space, not the price tag.
Drainage, Gutters, and Grading: Stopping Water Before It Reaches the Foundation
Exterior water management is the cheapest rot prevention you can do. Gutters, grading, and drainage keep rain away from the foundation before it ever reaches the crawl space.
Fix these first:
- Clean gutters and extend downspouts well away from the house
- Regrade soil so it slopes away from the foundation
- Repair cracked or clogged foundation drains
This is the step most people skip. They seal the crawl space, then wonder why it stays damp. If the roof water dumps right at the foundation, you are fighting a losing battle.
Stop water outside before you manage it inside. Gutters, grading, and drainage cost less than encapsulation and remove the source.
Treating and Replacing Damaged Wood Safely
Damaged wood that is soft or crumbling must be replaced, not painted over.
Follow this rule:
- Soft, crumbling, or structurally weakened wood: replace it
- Stained but solid wood: dry it, then treat it
- Surface mold only: clean it, fix the moisture, and recheck
Safe repair boundaries matter here. If a joist, beam, or sill plate is compromised, that is structural work.
Once the wood is dry and treated, verify your work.
Rot in a crawl space rarely announces itself.
When the damage is already there, or when you need it handled fast, Aquaflame Restores it can help.
Frequently Asked Questions
Can you prevent wood from rotting in a crawl space?
Yes, but only by controlling moisture, not by treating the wood alone. Rot fungi need sustained dampness to grow, so the goal is to keep framing lumber below roughly 20% moisture content. That means fixing exterior drainage and gutters, sealing the ground with a vapor barrier, and adding a crawl space dehumidifier or encapsulation system where humidity stays high. Fungicide and borate treatments slow surface growth but do not stop rot once a leak or high humidity returns.
What are the first signs of wood rot in a crawl space?
Start with smell and texture. A musty, earthy odor near the access door usually shows up before visible damage. Shine a light on joists, sill plates, and subfloor edges and look for dark staining, soft spots that a screwdriver sinks into, crumbling wood fibers, and white or gray fungal growth. Peeling paint and sagging floors are later signs. If a joist feels spongy, stop probing and have it inspected before you walk on the floor above.
Should a crawl space be sealed to prevent wood rot?
Sealing is usually the more reliable approach in humid climates. Crawl-space vents were once required by building codes, but venting pulls warm, moist outside air into a cooler space, where it condenses on joists and insulation. Encapsulation with a reinforced plastic liner, sealed seams, and a dedicated dehumidifier keeps the space dry year-round. Check with your local building department first, since code requirements and accepted methods vary by jurisdiction.
How expensive is it to fix wood rot in a crawl space?
Cost depends on how much lumber is damaged and whether the moisture source is fixed at the same time. Replacing a few joist ends costs far less than sistering multiple joists, rebuilding a girder, or replacing a subfloor section. Encapsulation, drainage, and dehumidification are separate line items and often the larger part of the bill. Get a written scope that lists which boards are being replaced and which moisture repairs are included, then request a quote based on your specific crawl space.