Table of Contents
- Understanding Mold Remediation
- The Mold Remediation Process: What Happens During Treatment
- Mold Remediation Timeline: How Long Does Treatment Take?
- Mold Remediation Cost Factors and What Affects Your Budget
- Tools and Materials Used in Professional Mold Remediation
- Safety Precautions During Mold Remediation Work
- Mold Prevention After Remediation: Keeping Mold From Returning
- When to Call a Professional vs. DIY Cleanup
- Frequently Asked Questions
Last Updated: October 18, 2026
Understanding Mold Remediation
Mold remediation is the process of identifying, containing, and removing mold growth from a property to restore a safe, healthy environment. It goes beyond simple cleaning, it addresses the root cause of mold growth and prevents it from returning.
At Aquaflame Restores it, we understand that mold isn’t just a surface problem. It thrives in moisture and spreads through hidden spaces. A single leak in your roof or a malfunctioning A/C unit can create the perfect conditions for mold to colonize your property.
Most homeowners don’t realize mold can be hiding behind walls or in crawlspaces for months. By the time visible signs appear, the problem has usually spread significantly. This is why professional mold remediation matters. It’s not just about what you can see, it’s about finding and fixing what you can’t.
The biggest mistake homeowners make is treating mold remediation as a one-time fix. If you don’t address the moisture source, mold will return within weeks. Our team focuses on the root cause first, then the cleanup.
The Mold Remediation Process: What Happens During Treatment
Professional mold remediation follows a structured approach. Each step builds on the last to ensure complete removal and lasting results. Understanding this process helps you know what to expect and why each phase matters.
Assessment and Containment
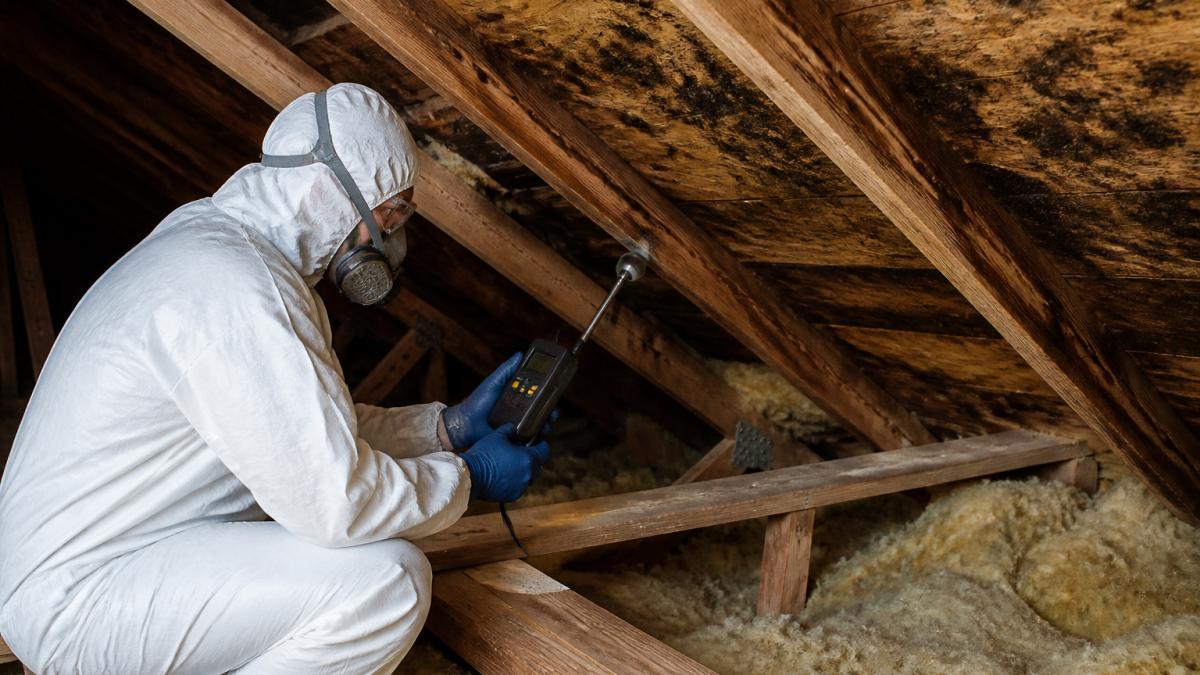
The first step in mold remediation is a thorough assessment. Our technicians inspect your entire property to locate all mold growth, visible and hidden. We use moisture detection equipment to find problem areas before mold becomes visible. This assessment determines the scope of work and the containment strategy needed.
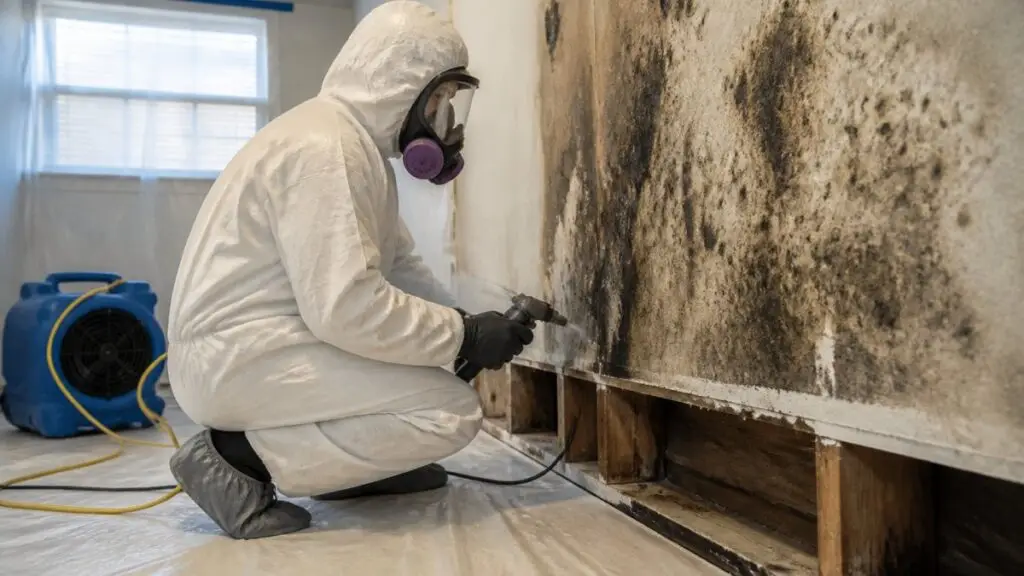
Containment prevents mold spores from spreading to unaffected areas during removal. We seal off contaminated zones using plastic sheeting and negative air pressure systems. This creates a controlled environment where removal work happens safely.
The containment phase typically takes a few hours depending on the size and complexity of the affected area. We set up barriers, establish entry and exit points, and deploy air scrubbers to capture spores. This preparation work is what separates professional mold remediation from DIY attempts.
Removal and Cleaning
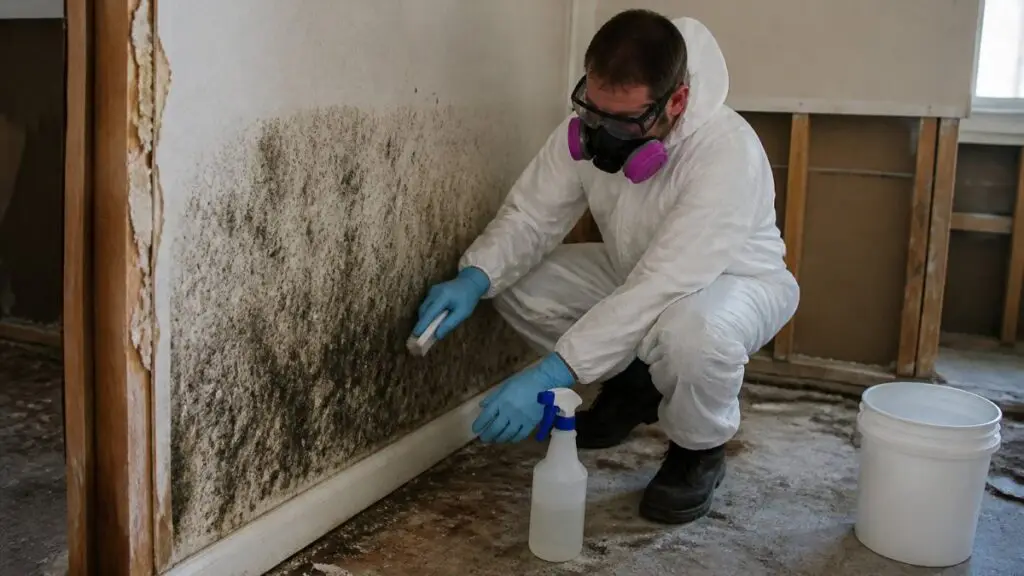
Once containment is in place, removal begins. Our team removes contaminated materials like drywall, insulation, or flooring. Some materials can be cleaned and salvaged. Others must be disposed of properly. We use HEPA vacuums and antimicrobial treatments to eliminate mold at the source.
The removal phase is physically intensive. Technicians work methodically through the contaminated area, removing affected materials and placing them in sealed bags. We clean all surfaces with specialized solutions designed to kill mold and prevent regrowth. This isn’t a surface wipe-down, it’s deep remediation that addresses every contaminated surface.
After removal, we clean the entire containment area thoroughly. Every surface gets treated. Ducts, framing, and structural elements are cleaned to eliminate spore colonies. This comprehensive approach ensures mold doesn’t hide in overlooked spots.
Drying and Dehumidification
Mold thrives in moisture. After removal and cleaning, we focus on eliminating excess moisture. Industrial-grade dehumidifiers and air movers dry the affected area completely. This phase is essential for preventing mold from returning.
Drying typically takes several days depending on humidity levels and the extent of moisture damage. We monitor moisture levels continuously. Once the area reaches normal humidity levels, the environment becomes hostile to mold growth. This is why drying is as important as removal itself.
Incomplete drying is the #1 reason mold returns after remediation. Professional-grade equipment removes moisture far more effectively than standard fans or dehumidifiers.
Mold Remediation Timeline: How Long Does Treatment Take?
The mold remediation timeline depends on several factors: the size of the affected area, the severity of contamination, and the moisture source. A small bathroom mold problem might take 2-3 days. A large attic infestation with structural damage could take 2-3 weeks.
Here’s what typically affects timing:
- Assessment: 1-2 hours for most properties
- Containment setup: 2-4 hours
- Removal and cleaning: 1-5 days depending on area size
- Drying and dehumidification: 3-7 days
- Final inspection and clearance: 1 day
The moisture source matters most. If we’re dealing with an active leak, we must fix it before remediation truly ends. If the crawlspace has chronic humidity issues, we install vapor barriers and ventilation improvements. These solutions take additional time but prevent future problems.
At Aquaflame Restores it, we work fast. Our on-site arrival within one hour means we start assessment quickly. The sooner we contain and remove mold, the sooner your property is safe again.
Rushing the drying phase is a common mistake. Spores can remain dormant in damp areas and reactivate weeks later. We never skip this step, even if it delays the final timeline.
Mold Remediation Cost Factors and What Affects Your Budget
Mold remediation cost varies widely based on the contamination size, location, and complexity. A small closet mold problem costs less than a full attic remediation. The moisture source also affects pricing, fixing a roof leak costs more than addressing a condensation issue.
Key cost factors include:
- Contamination size: Larger areas require more labor and materials
- Location: Attics and crawlspaces are harder to access and cost more
- Structural damage: Replacing drywall, insulation, or flooring adds expense
- Moisture source repair: Fixing leaks or installing drainage systems increases the total
- Accessibility: Difficult-to-reach areas require specialized equipment and more time
- Clearance testing: Final mold testing and documentation add to the bill
Insurance often covers mold remediation if it results from a covered peril like a roof leak or burst pipe. Direct insurance billing through Aquaflame Restores it helps manage the claims process so you can focus on recovery.
For specific pricing on your situation, contact our team for a detailed assessment. We provide transparent quotes that break down labor, materials, and any structural repairs needed.
Tools and Materials Used in Professional Mold Remediation
Professional mold remediation requires specialized equipment that goes far beyond what homeowners have available. Here’s what we use:
Detection and Assessment:
- Moisture meters to identify hidden water damage
- Thermal imaging cameras to spot cold spots where moisture collects
- Air quality testing equipment to measure spore levels
Containment:
- Plastic sheeting and duct tape for sealing work areas
- Negative air pressure machines to control spore spread
- HEPA air scrubbers to capture airborne mold particles
Removal and Cleaning:
- HEPA vacuums that trap spores instead of spreading them
- Antimicrobial and antifungal cleaning solutions
- Specialized tools for removing contaminated materials safely
- Personal protective equipment including respirators and full-body suits
Drying:
- Industrial dehumidifiers rated for large spaces
- High-velocity air movers to accelerate evaporation
- Moisture monitoring equipment to track progress
Disposal:
- Heavy-duty bags rated for hazardous material containment
- Proper disposal protocols meeting environmental standards
This equipment represents a significant investment. Professional-grade dehumidifiers alone cost thousands of dollars. HEPA vacuums and air scrubbers are specialized tools designed for contamination control. This is why DIY mold cleanup often fails, homeowners lack the equipment to do the job properly.
Safety Precautions During Mold Remediation Work
Mold remediation involves real health hazards. Mold spores trigger respiratory issues, allergies, and asthma attacks (the CDC). Improper handling spreads contamination throughout your home. Professional safety protocols protect your family and the technicians doing the work.
Personal Protective Equipment (PPE):
- HEPA-rated respirators to prevent spore inhalation
- Full-body protective suits to prevent skin contact
- Gloves and shoe covers to contain contamination
- Eye protection to guard against spore exposure
Work Area Safety:
- Negative air pressure containment prevents spores from escaping
- Sealed entry and exit points control movement in and out
- HEPA air scrubbers run continuously during work
- Plastic sheeting isolates contaminated areas from living spaces
Health Precautions:
- Occupants should leave the property during active remediation
- Children and pets should stay away from the work area
- Vulnerable individuals with respiratory conditions need extra precautions
- Post-remediation air quality testing confirms safety before re-entry
Professional mold remediation isn’t a casual cleanup project. It requires training, certification, and proper equipment. Our IICRC-trained technicians follow strict safety protocols. We protect your family by ensuring spores don’t spread and contamination is properly contained and removed.
Never attempt mold remediation without proper respiratory protection. Inhaling concentrated mold spores can cause serious respiratory damage, especially for people with asthma or compromised immune systems.
Mold Prevention After Remediation: Keeping Mold From Returning
Once remediation is complete, prevention keeps mold away permanently. This is where many homeowners fail. They fix the immediate problem but ignore the conditions that created it.
Control Moisture:
- Fix leaks immediately, roof leaks, plumbing leaks, and foundation cracks
- Install proper drainage around your home’s foundation
- Ensure gutters and downspouts direct water away from the house
- Repair or replace damaged caulk around windows and doors
Improve Ventilation:
- Run exhaust fans in bathrooms during and after showers
- Use kitchen exhaust fans while cooking
- Ensure attic vents aren’t blocked
- Improve crawlspace ventilation with proper venting systems
Manage Humidity:
- Keep indoor humidity below 50% using dehumidifiers if needed
- Use air conditioning to control moisture in warm, humid climates
- Ensure HVAC systems have proper maintenance and filter changes
Regular Inspections:
- Check crawlspaces and attics quarterly for signs of moisture
- Inspect basements after heavy rain
- Monitor areas where leaks occurred previously
- Catch problems early before mold takes hold
The mold prevention after remediation phase is where professional guidance matters. We don’t just remove mold, we identify why it grew and fix the underlying cause. This might mean installing a sump pump, adding crawlspace encapsulation, or improving attic ventilation. These solutions prevent future mold growth and protect your investment in remediation.
When to Call a Professional vs. DIY Cleanup
Small mold spots in low-risk areas might seem like a DIY project. A visible patch on a bathroom wall could tempt you to grab bleach and a scrub brush.
Call a Professional If:
- Mold covers an area larger than 10 square feet
- Mold appears in crawlspaces, attics, or hidden areas
- You have active water damage or ongoing moisture issues
- Mold returns after previous cleanup attempts
- You have respiratory issues, asthma, or immune system problems
- The mold involves structural materials like drywall or framing
- You need clearance documentation for insurance or real estate transactions
DIY Cleanup Might Work If:
- Mold is limited to a small, visible surface area
- The cause is recent and obvious (like a spill you just cleaned up)
- No structural materials are affected
- You have no health vulnerabilities
- You can properly contain and dispose of contaminated materials
The real problem with DIY mold cleanup is incomplete removal. Mold spreads through hidden spaces. Spores travel through air ducts and settle in new locations.
Professional mold remediation costs more upfront, but it solves the problem permanently. You get proper assessment, complete removal, moisture control, and prevention strategies.
Aquaflame Restores it provides comprehensive mold remediation with IICRC-trained technicians and 24/7 emergency response. We handle everything from assessment through final clearance testing.
Mold remediation protects your home’s structure and your family’s health. The right approach combines thorough removal with lasting prevention. When mold appears, act fast, the EPA’s mold guidance emphasizes early professional intervention.
Frequently Asked Questions
What does the mold remediation process actually involve?
The mold remediation process starts with a thorough inspection to identify the extent of contamination and the moisture source. Professionals then contain the affected area, remove contaminated materials, clean surfaces with specialized treatments, and dry the space completely. Finally, they verify the work with clearance testing to ensure mold levels are acceptable. The goal is not just removing visible mold but addressing the root cause so it doesn’t return.
How long does mold remediation typically take?
Mold remediation timelines vary based on the size and severity of the contamination. Small, isolated areas may take 1-3 days, while larger infestations affecting multiple rooms or structural components can take 1-2 weeks or longer. Drying time is often the longest phase. Your professional team will provide a realistic timeline during the initial assessment so you know what to expect.
What factors affect mold remediation cost?
Several factors influence mold remediation pricing: the square footage affected, severity of contamination, whether structural materials need replacement, accessibility of the mold, and the moisture source. Crawlspace and attic mold typically costs more than surface-level issues. Insurance coverage also affects your out-of-pocket cost. Get a detailed estimate from a professional to understand what you’re paying for in your specific situation.
How do I prevent mold from coming back after remediation?
Prevention starts with moisture control: fix leaks immediately, ensure proper drainage around your foundation, maintain gutters and downspouts, and keep humidity levels below 50% indoors. Improve ventilation in bathrooms and kitchens, insulate cold surfaces to prevent condensation, and address any water intrusion points. Regular inspections of vulnerable areas like crawlspaces and attics catch problems early before they become major issues.