Table of Contents
- What Floor to Ceiling Restoration Actually Involves
- Why a Wet Ceiling Rarely Stops at the Ceiling
- The Water Damage Restoration Process, Step by Step
- Rebuilding Above and Below: Drywall, Flooring, and Finish Carpentry
- What IICRC Certified Restoration Services Mean for Your Home
- The Insurance Claim Restoration Process, From First Call to Final Invoice
- DIY vs. Professional Restoration: Where the Cost Math Breaks Down
- Choosing Flood-Resistant Materials During Reconstruction
- Frequently Asked Questions
Last Updated: September 21, 2026
What Floor to Ceiling Restoration Actually Involves
Floor to ceiling restoration returns a water- or fire-damaged home to its pre-loss condition, from subfloor repair to ceiling drywall and finish carpentry. At Aquaflame Restores it, we treat it as one continuous project, not a patchwork of trades.
Why a Wet Ceiling Rarely Stops at the Ceiling
The biggest mistake homeowners make is treating a ceiling stain as cosmetic. It almost never is.
Never seal or paint a water-stained ceiling until a moisture meter confirms the assembly is dry. Painting over trapped moisture traps the problem and typically leads to mold growth inside the ceiling cavity.
The Water Damage Restoration Process, Step by Step
The water damage restoration process follows a defined sequence: assess, extract, dry, verify, then rebuild. Rushing any step turns a two-week project into a two-month one.
Here’s the sequence in order:
- Emergency response and site stabilization – stop the source, secure the property, and prevent further damage
- Damage assessment and moisture mapping – trace where water actually went, not just where it’s visible
- Water extraction – remove standing water with truck-mounted or portable extraction units
- Structural drying and dehumidification – dry the building assembly, not just the surface
- Sanitation and mold remediation – treat affected areas if microbial growth is present
- Reconstruction – rebuild drywall, flooring, trim, and finishes
- Final verification – confirm moisture readings before closing up walls and ceilings
Moisture Mapping and Damage Assessment
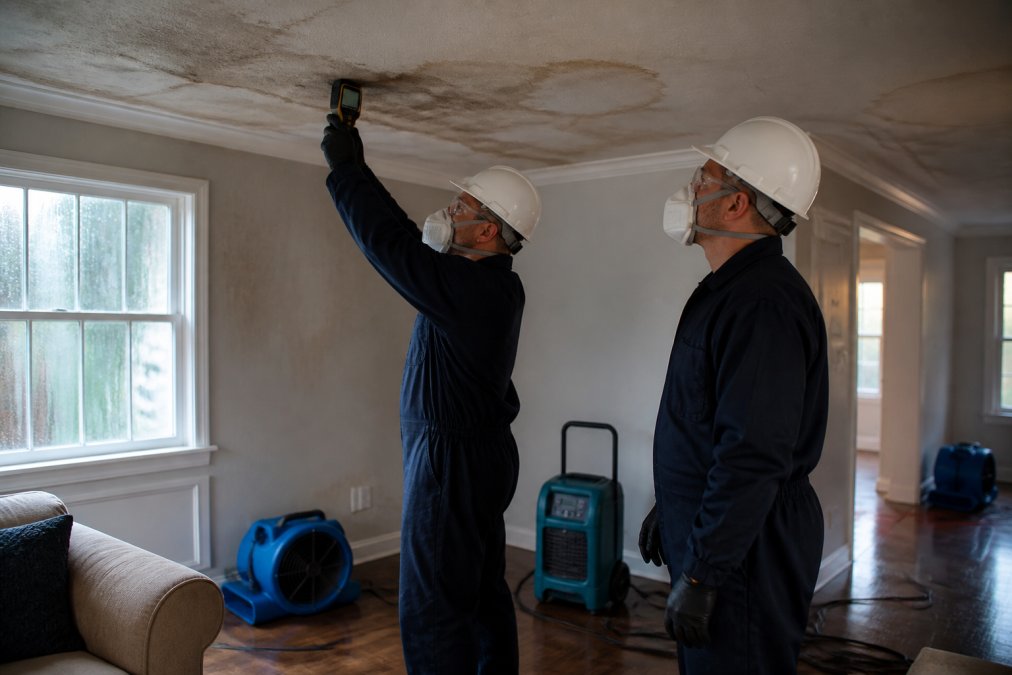
Moisture mapping uses meters and thermal imaging to chart where water traveled inside a structure, checking wall cavities, subfloor layers, and ceiling assemblies, not just visible surfaces. A pin-type meter reads surface moisture; thermal imaging reveals hidden moisture. Mapping happens before drying and again after, the second reading proves the structure is dry.
Structural Drying, Dehumidification, and Water Extraction
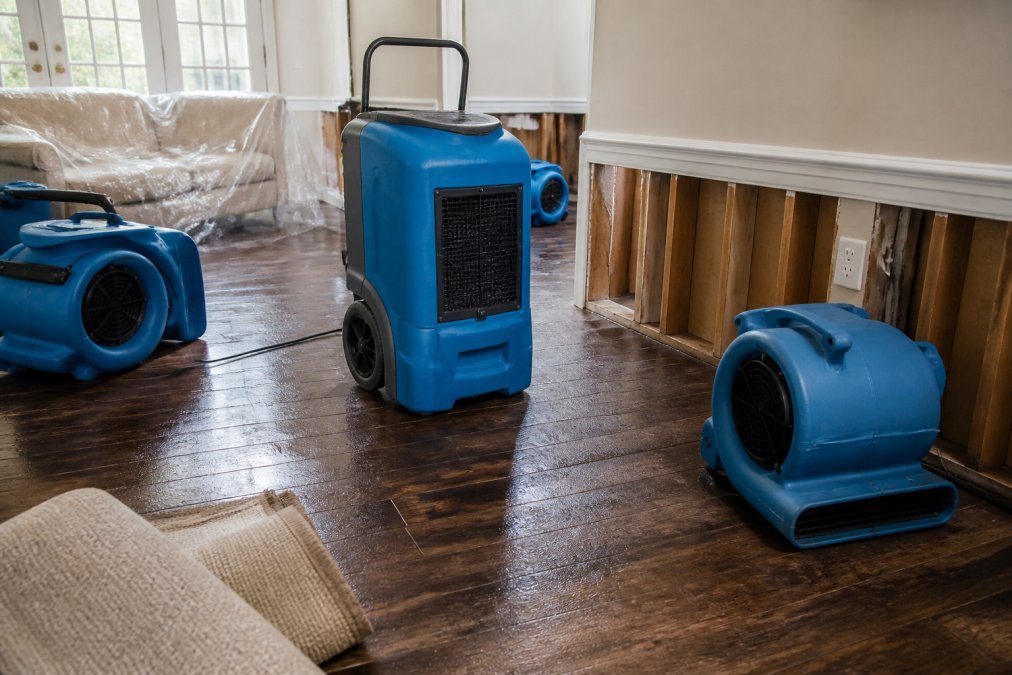
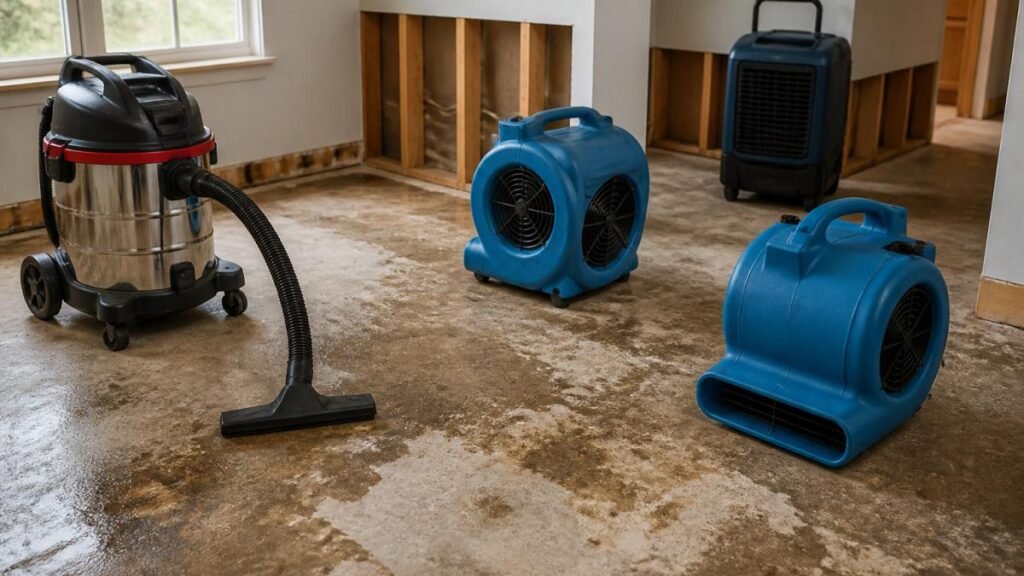
Structural drying combines three tools: air movers to evaporate moisture, dehumidifiers to pull it from the air, and extraction equipment to remove standing water first. Drying without extraction just circulates water.
Rebuilding Above and Below: Drywall, Flooring, and Finish Carpentry
Reconstruction is where floor to ceiling restoration either looks seamless or looks like a repair. The goal: match existing materials, textures, and finishes so the rebuilt section disappears.
Drywall Repair, Trim and Molding, and Interior Painting
Drywall repair means cutting out saturated sections, replacing them with matching panels, taping, mudding, and sanding to a level finish. Ceiling repairs are trickier because lighting rakes across the surface and shows every imperfection.
Hardwood Flooring, Tile Installation, and Subfloor Restoration
Subfloor restoration comes first. If the plywood or OSB beneath the finish floor absorbed water, it must be dried, replaced, or both, or the new flooring will cup and buckle.
| Damage Type | Typical First Step | Rebuild Scope |
|---|---|---|
| Wet ceiling drywall | Moisture mapping | Drywall, paint, trim |
| Cupped hardwood | Extraction and drying | Subfloor, flooring, transitions |
| Wet crawlspace | Sanitation and drying | Vapor barrier, insulation |
| Fire and smoke damage | Board-up and cleanup | Drywall, paint, carpentry |
What IICRC Certified Restoration Services Mean for Your Home
IICRC certified restoration services follow published industry standards for inspection, drying, and remediation, signaling technicians trained to a recognized standard.
The Insurance Claim Restoration Process, From First Call to Final Invoice
The insurance claim restoration process runs from your first call through the final invoice, and documentation quality decides how smoothly it goes. Most claim disputes aren’t about whether damage happened; they’re about whether it was documented properly.
Step 1: Report the Loss and Start a Paper Trail
Call your insurer’s claims line once you’ve stopped the water source and made the property safe. You’ll usually get a claim number the same day, write it down with the date, time, and representative’s name, and reference it in every later conversation.
Step 2: Document Before Anything Gets Removed
This is the step homeowners skip and later regret. Before extraction, demolition, or cleanup begins, capture:
- Wide shots of each affected room showing the full scope
- Close-ups of the water source (the burst supply line, the failed condensate pan, the roof penetration)
- Photos of contents, furniture, electronics, rugs, clothing, before they’re moved or discarded
- A written inventory of damaged items with approximate age and replacement cost
- Video walkthrough narrating what you see; it timestamps the condition
Photograph everything before cleanup starts, including the source of the water. Cause-of-loss photos are often the single most contested item in a water damage claim.
Step 3: Build the Documentation File
A complete claim file typically includes:
| Document | Who Produces It | Why the Adjuster Wants It |
|---|---|---|
| Moisture readings with dates | Restoration technician | Proves the affected area and the drying progress |
| Thermal imaging captures | Restoration technician | Shows hidden moisture behind walls and ceilings |
| Daily drying logs | Restoration technician | Documents that equipment ran and conditions changed |
| Scope of work | Restoration company | Itemizes what will be rebuilt and how |
| Cause-of-loss narrative | Restoration company or you | Ties the damage to a covered peril |
| Photo set (before/after) | Either | Confirms the work was actually done |
| Contents inventory | You | Supports personal property reimbursement |
Restoration companies that document as they work produce a file an adjuster can approve without back-and-forth. If you handle any part yourself, keep copies of everything, claim number, correspondence, estimates. It costs nothing and protects you if the file is disputed.
Step 4: Understand What “Direct Insurance Billing” Actually Means
Direct insurance billing means the restoration company works with your adjuster rather than handing you a bill to fight over. It removes stress but not your responsibility to report the loss promptly, keep records, and review the final scope before signing off.
Ask three questions before you authorize work:
- Will you bill my carrier directly, or will I pay and seek reimbursement?
- Who writes the scope of work, your estimator or the adjuster?
- What happens if the adjuster’s approved scope is smaller than the actual damage?
Step 5: Track the Claim to Closure
Once drying is verified and reconstruction scoped, the claim moves to approval and payment. Keep a simple log: date, who you spoke with, what was agreed, what’s next. If hidden damage found after walls open requires a supplement, document it with the same photo-and-reading standard as the original claim.
DIY vs. Professional Restoration: Where the Cost Math Breaks Down
DIY restoration looks cheaper until you factor in drying equipment, verification, and the risk of a failed repair. Here’s a decision framework built around the four cost drivers that decide the outcome.
Cost Driver 1: Equipment Capability
Professional-grade dehumidifiers and air movers move far more air and pull far more moisture than rental units, and drying time directly affects whether mold develops. A consumer rental is sized for a small room; a commercial unit is sized for a building assembly, the difference between drying a wall cavity in days versus weeks.
Cost Driver 2: Verification You Can’t Fake
Without moisture readings, you can’t prove the structure is dry to yourself or an adjuster. A pin-type meter reads surface moisture; thermal imaging reveals hidden moisture. Together they show the true footprint of the damage.
Cost Driver 3: Rework and Mold Risk
A failed DIY repair means paying twice: once for the attempt, once for the professional fix, plus any mold remediation it caused. Mold remediation has its own containment, disposal, and clearance requirements, it is not a bucket-of-bleach project.
Cost Driver 4: Your Time and Your Claim
Every hour running equipment is an hour not documenting the loss. If the claim is questioned, the professional file, readings, logs, photos, scope, carries it. DIY documentation rarely survives adjuster scrutiny.
The Decision Framework
Use this to sort the job before you commit:
Safe to self-perform (source fixed, small, surface-level):
- A single stained ceiling tile or a small patch of drywall where the leak is repaired and the cavity is confirmed dry
- Replacing a section of baseboard after a minor overflow
- Painting a wall or ceiling plane after professional drying is verified
- Cleaning and drying non-porous hard surfaces (tile, sealed concrete)
Call a professional (water entered an assembly):
- Any water that reached a wall cavity, ceiling assembly, or subfloor
- Any loss involving Category 2 (gray water) or Category 3 (black water) contamination
- Any loss where mold is visible or suspected
- Any loss you intend to claim on insurance
- Any loss where the source can’t be positively identified
The Rule of Thumb
If you can see the water and dry it with a fan and towel, DIY is reasonable. If it went somewhere you can’t see, behind drywall, under flooring, above a ceiling, professional drying and documentation pay for themselves. The threshold isn’t the stain’s size; it’s whether moisture is inside a building assembly.
DIY makes sense for minor, surface-level issues where the source is fixed and the affected area is small. Once water has entered a wall cavity, ceiling assembly, or subfloor, professional drying and documentation pay for themselves.
Choosing Flood-Resistant Materials During Reconstruction
Flood-resistant materials reduce how much damage the next water event causes. Since you’re already rebuilding, material choice is the cheapest insurance you’ll ever buy.
Practical options include:
- Luxury vinyl plank or tile in basements and lower levels instead of hardwood
- Paperless drywall in areas prone to moisture
- Closed-cell insulation in crawlspaces and rim joists
- Tile or stone in bathrooms and laundry rooms instead of laminate
- Elevated mechanical systems where flooding is recurring
Frequently Asked Questions
What is involved in a full floor to ceiling restoration?
A full floor to ceiling restoration covers everything between the floor joists and the ceiling drywall. It starts with damage assessment and moisture mapping, moves into water extraction, structural drying, and dehumidification, then finishes with reconstruction: drywall repair, subfloor restoration, flooring, trim and molding, and interior painting. Sanitation and mold remediation are folded in wherever moisture sat long enough to grow colonies. One licensed contractor typically manages the whole sequence so you are not juggling trades.
Is floor to ceiling restoration covered by homeowners insurance?
Most standard homeowners policies cover sudden, accidental water damage, such as a burst pipe or a failed water heater, including the drying and the rebuild. Damage from long-term neglect, like a slow leak you knew about and ignored, is usually excluded. Flood water from outside the home requires a separate policy. Your adjuster will want documentation of the cause, so photograph everything before cleanup starts and keep a written timeline of when you first noticed the damage.
How long does a complete property restoration take?
Drying and dehumidification usually run three to five days for a typical residential loss, with daily moisture readings to confirm the structure is back to normal levels. Reconstruction depends on scope: a single ceiling and a patch of drywall might take a week, while a full floor to ceiling restoration across multiple rooms with hardwood flooring and cabinetry can run several weeks. Material lead times and insurance approval speed are the two biggest variables.
How do I choose a qualified restoration contractor?
Look for IICRC certified restoration services, which means technicians trained to a published standard for water damage, mold, and structural drying rather than a crew certified last month. Ask for proof of licensing and insurance, a written scope of work, and examples of similar jobs. A contractor who handles direct insurance billing and provides clearance documentation saves you weeks of back-and-forth. Get the moisture readings in writing at both the start and the end of the job.
What is the difference between remodeling and restoration?
Remodeling changes a space by choice: new layout, new finishes, upgrades you picked. Restoration returns a damaged space to its pre-loss condition, and the scope is set by what the water, fire, or mold destroyed. That distinction matters for insurance, because most policies pay to restore, not to improve. If you want to upgrade while walls are already open, tell your contractor early so the change order and the claim stay separate.
What are the signs that you need professional restoration services?
Watch for a sagging or stained ceiling, a musty smell that returns after cleaning, bubbling paint, warped baseboards, soft spots in flooring, and any crawlspace or attic that stays damp. A leak detection check is worth it if your water bill jumped without explanation. Small stains can hide saturated insulation and framing above them, and mold can establish itself within a couple of days of a slow leak. When in doubt, get moisture mapping done before you paint over anything.
What tradesman fixes ceilings?
Ceiling repair after water damage usually needs more than one trade. A restoration contractor handles the assessment, drying, and demolition, then a drywall specialist installs and finishes the new ceiling. If the leak came from plumbing, a plumber fixes the source first, and an electrician checks any wiring that ran through the wet cavity. That is why one licensed contractor coordinating plumbing repairs, electrical services, drywall repair, and interior painting under a single scope keeps the job moving.
What is the cheapest way to redo a ceiling?
The cheapest ceiling job is the one that does not come back. Patching and repainting a water stain without drying the framing behind it is the lowest upfront cost and the most expensive outcome, because trapped moisture feeds mold and the stain returns. If the damage is cosmetic and the cavity is confirmed dry, a patch and paint is genuinely cheap. If moisture readings are elevated, drying and subfloor or ceiling replacement first is the only path that holds.