
Table of Contents
- Emergency Assessment and Safety First
- Securing the Property: Board-Up and Tarping
- Water Removal and Structural Drying
- How to Clean Smoke Damage From Walls Yourself
- Soot Removal Techniques and Residue Cleanup
- Fire Damage Insurance Claim Process
- Debris Removal, Demolition, and Reconstruction
- Conclusion
Last Updated: August 21, 2026
Emergency Assessment and Safety First
The first 24 hours after a fire determine whether your property can be salvaged or faces catastrophic loss. Before touching anything, assess the structural integrity of your home and identify immediate hazards.
Walk through your property only if it’s structurally sound, checking for collapsed ceilings, weakened walls, or unstable flooring. If you see signs of structural compromise, evacuate immediately and call a professional. According to FEMA’s post-disaster safety guidelines, entering a fire-damaged building without professional assessment exposes you to hidden dangers like weakened support beams, gas leaks, or electrical hazards.
Smoke damage and soot residue create health hazards that aren’t always visible. Soot particles are microscopic and can penetrate deep into your lungs. If you have respiratory conditions, heart disease, or are elderly, avoid prolonged exposure to smoke-damaged areas. Wear an N95 respirator mask, disposable gloves, and eye protection when inspecting any fire-damaged room.
Document everything with photos and video before moving anything. Your insurance claim will depend on this evidence. Photograph charred materials, soot on walls, water damage from firefighting efforts, and the overall condition of each room. Make a detailed list of damaged items with their approximate value and purchase date if possible.
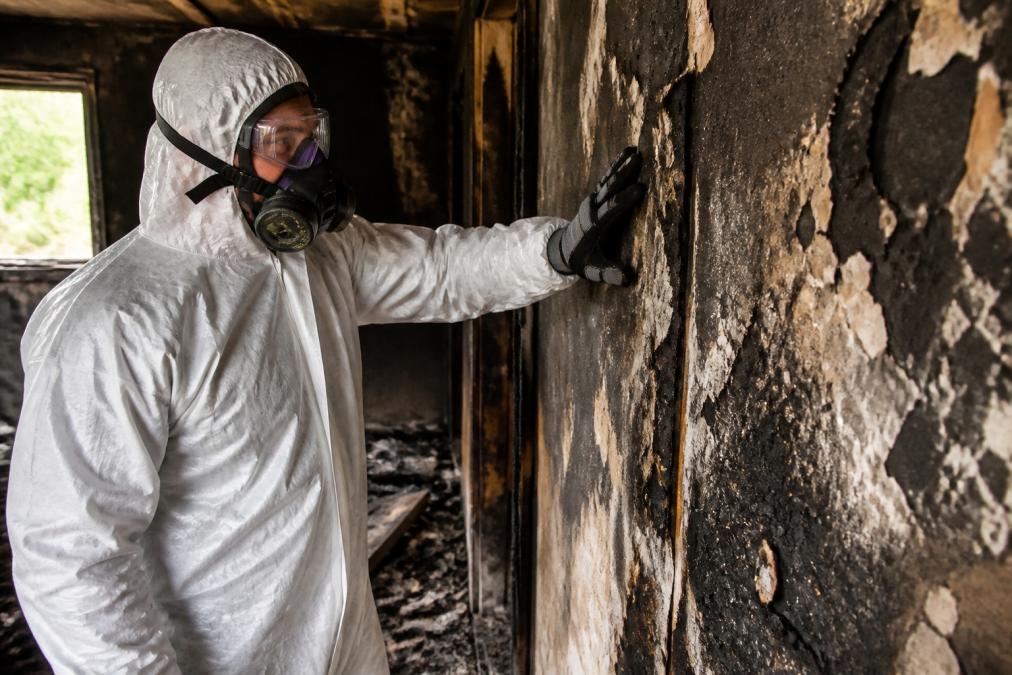
Never enter a fire-damaged building alone. If you must assess the property yourself, bring someone with you and keep your phone charged. If you feel dizzy, experience chest pain, or have difficulty breathing, leave immediately and seek medical attention.
Securing the Property: Board-Up and Tarping
Once you’ve confirmed the structure is safe, prevent further damage and unauthorized entry through board-up service and tarping.
If the fire broke windows or doors, water can infiltrate the property during rain, compounding your damage. Wind can also spread remaining soot and ash throughout undamaged areas. Tarping protects exposed roof areas, and board-up service secures broken openings with plywood or temporary barriers.
Call a professional for board-up work if you have multiple broken windows or significant roof damage. Aquaflame Restores it offers 24/7 emergency response with a 30-minute arrival guarantee to secure your property immediately after fire damage occurs. Their IICRC-trained technicians assess which areas need tarping and which need permanent boarding based on your specific situation.
If boarding up windows yourself, use exterior-grade plywood cut to fit each opening snugly. Secure it with construction screws rather than nails; screws hold better and allow easier removal later. Cover any gaps with weatherproof caulk or foam sealant to prevent water infiltration.
For roof damage, tarping is usually necessary to prevent rain from entering the interior. This requires climbing onto the roof, which carries fall risk. Unless you’re experienced with roofing work, hire a professional.
Take photos of your board-up and tarping work for your insurance claim. Document the date and time, and keep receipts for any materials or labor costs. These expenses are typically covered under your homeowner’s policy.
Water Removal and Structural Drying
Firefighting efforts create massive amounts of water damage alongside the fire damage itself. Structural drying is one of the most critical phases of the restoration process.
Water remaining in walls, flooring, and structural materials will cause mold growth within 24-48 hours. Mold remediation becomes exponentially more expensive than proper water extraction and drying. The goal is to remove standing water and reduce moisture levels in all materials to safe levels.
Begin by removing standing water with a submersible pump or wet vacuum if the volume is manageable. For large amounts of water, you’ll need industrial-grade extraction equipment. Aquaflame Restores it uses truck-mounted extraction systems that remove water far more efficiently than portable equipment.
After water extraction, dehumidification begins. Industrial dehumidifiers and air movers work together to evaporate moisture from materials. Place dehumidifiers in each room and position air movers to create airflow across wet surfaces. Keep doors open between rooms to allow air circulation, but close exterior doors and windows to prevent humid outdoor air from entering.
Moisture mapping using thermal imaging or moisture meters identifies where water has penetrated, preventing future mold issues that emerge weeks after cleanup seems complete. Monitor humidity levels daily using a hygrometer; the goal is 30-50% in each room. Structural drying can take 3-7 days or longer depending on water damage extent.
How to Clean Smoke Damage From Walls Yourself
Smoke damage creates residue on walls, ceilings, and all surfaces. This residue contains acidic compounds that can permanently damage paint and finishes if left untreated.
Cleaning smoke damage from walls yourself is possible for light to moderate damage. Start by vacuuming all surfaces with a HEPA filter vacuum to capture loose soot particles. Never use a standard vacuum, as it will spread particles into the air.
For light smoke damage, TSP (trisodium phosphate) cleaner mixed with warm water works well. TSP is a strong alkaline cleaner that neutralizes acidic smoke residue. Mix according to package directions, typically one cup TSP per gallon of water. Wear gloves and eye protection.
Wipe walls systematically starting from the top and working downward. Use clean cloths and change them frequently. Rinse each section with clean water and a separate cloth to remove cleaner residue. Allow walls to dry completely before assessing whether additional cleaning is needed.
For heavy smoke damage, commercial smoke damage cleaners designed specifically for fire damage cleanup may be more effective than TSP. Ceiling cleaning requires more caution since you’re working overhead. For heavily damaged ceilings, professional cleaning is safer and more effective than DIY attempts.
Light to moderate smoke damage on walls in a single room where soot hasn’t penetrated deeply into materials. If damage covers multiple rooms or the smell persists after cleaning, professional fire damage cleanup is more cost-effective.
Soot Removal Techniques and Residue Cleanup
Soot is the black powdery residue left by fire. It clings to every surface and penetrates into porous materials like drywall, insulation, and upholstery. Soot removal requires different techniques depending on the surface and severity of contamination.
Hard surfaces like tile, glass, and metal respond well to chemical cleaning. Dry cleaning methods work best for initial soot removal; use dry sponges or specialized dry cleaning compounds that absorb soot without spreading it. Wet cleaning follows, using appropriate cleaners for each surface type. handle insurance claims.
Porous surfaces like drywall, carpet, and upholstery present a greater challenge. Soot penetrates these materials, making surface cleaning ineffective. For light soot contamination on drywall, dry sponging may be sufficient. For heavy contamination, the affected drywall section may need replacement, which is often more cost-effective than attempting deep cleaning.
Carpet and upholstery can sometimes be salvaged through professional cleaning, but heavily charred materials should be replaced. Professional upholstery cleaning uses specialized equipment and solvents designed for fire damage restoration.
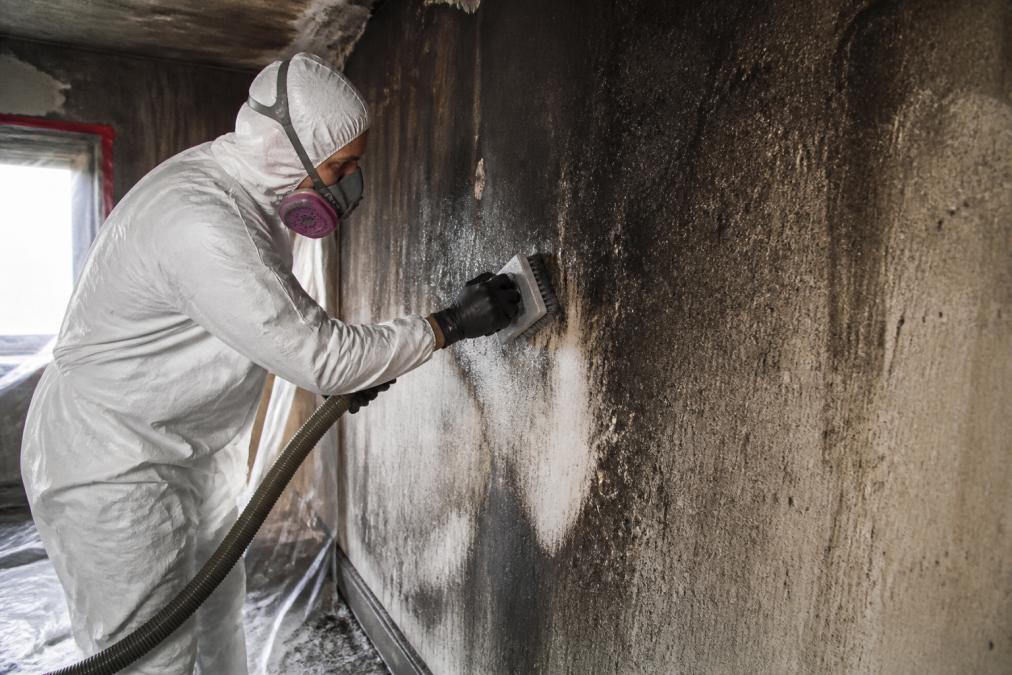
HVAC system cleaning is critical after fire damage. Soot circulates through your ductwork, contaminating every room even if the fire was localized. Have your entire HVAC system professionally cleaned, including ducts, registers, and the furnace or air handler.
Thermal fogging is an advanced deodorization technique that neutralizes smoke odor trapped in materials and air spaces. A specialized machine converts deodorizing solution into a fog that penetrates walls, insulation, and hidden areas where odor molecules hide.
[Soot removal is not just cosmetic](/smoke-damage-cleanup-odor-removal/), it’s essential for air quality and preventing long-term odor. Incomplete soot cleanup will result in persistent smoke smell that worsens over time as residue oxidizes.
Fire Damage Insurance Claim Process
Your insurance claim will determine whether restoration costs are covered. Understanding the fire damage insurance claim process prevents disputes and ensures fair compensation.
Contact your insurance company immediately after the fire, even if you’re still assessing damage. Most policies require prompt notification. Provide your policy number, the date and time of the fire, and a basic description of what burned. Your insurer will assign an adjuster to assess the damage.
Document everything before cleanup begins. Take photos and videos of all damaged areas, charred materials, and the overall condition of your property. Create a detailed inventory of damaged items including purchase date, approximate value, and condition. Keep receipts for any emergency repairs like board-up service or water extraction.
When the adjuster arrives, walk through the property together and point out all damage. Don’t minimize damage or assume something won’t be covered; let the adjuster make that determination. Provide your documentation and ask the adjuster to explain their valuation for major items or areas of disagreement.
Get written estimates from restoration contractors for your fire damage cleanup and reconstruction. Aquaflame Restores it provides detailed written estimates and manages direct insurance billing, eliminating the need for you to pay out-of-pocket and seek reimbursement.
If you disagree with the adjuster’s valuation, you have the right to hire an independent appraiser. The cost is typically split between you and your insurance company if the appraisal reveals significant undervaluation. Keep all receipts and documentation organized to speed up the claims process.
Debris Removal, Demolition, and Reconstruction
After water removal, soot cleanup, and odor treatment, structural repairs and reconstruction begin. This phase transforms your property from fire-damaged back to livable condition.
Debris removal starts with clearing charred materials, destroyed furnishings, and items beyond repair. Hazardous materials like asbestos insulation or lead paint require special handling and disposal. Professional remediation ensures proper containment and disposal according to environmental regulations.
Structural repairs address damage to walls, flooring, ceilings, and support beams. Charred structural members may need reinforcement or replacement depending on the extent of damage. According to National Fire Protection Association guidelines on structural assessment, fire-damaged structural elements require professional evaluation to determine whether they can be repaired or must be replaced.
Reconstruction includes replacing drywall, flooring, roofing, and finishes. This phase restores your property to pre-fire condition or better. Many homeowners use reconstruction as an opportunity to upgrade materials or improve their home’s layout.
Full reconstruction from one team ensures consistency and accountability. Aquaflame Restores it provides complete restoration services from initial assessment through final reconstruction, eliminating the coordination burden of managing multiple contractors. Their IICRC-trained technicians oversee every phase of the process.
Ask your restoration contractor about salvageable items that can be cleaned and restored rather than replaced. Professional content cleaning and restoration can save thousands on items you thought were lost to fire damage.
Conclusion
Fire damage cleanup is a complex, multi-phase process that demands professional expertise at every stage. From emergency assessment and safety protocols through final reconstruction, each step builds on the previous one. Rushing or skipping phases creates problems that emerge later: hidden moisture leads to mold, incomplete soot removal causes persistent odor, and inadequate structural assessment compromises safety.
When fire damage strikes your property, you need a restoration team that handles every phase without passing you between contractors. Aquaflame Restores it provides 24/7 emergency response with IICRC-trained technicians, direct insurance billing to eliminate out-of-pocket costs, and complete reconstruction services that restore your home to its original condition. Their 30-minute arrival guarantee and 5-star rating reflect their commitment to fast, professional fire damage cleanup across the region. Contact Aquaflame Restores it for emergency restoration services and get your property back to safe, livable condition.
| Phase | Timeline | Key Actions |
|---|---|---|
| Emergency Assessment | Hours 1-2 | Safety check, hazard identification, documentation |
| Property Securing | Hours 2-4 | Board-up, tarping, preventing further damage |
| Water Removal | Hours 4-24 | Extraction, dehumidification, moisture mapping |
| Soot Cleanup | Days 2-5 | Surface cleaning, HVAC cleaning, odor treatment |
| Insurance Claim | Days 1-14 | Documentation, adjuster meeting, estimate preparation |
| Reconstruction | Days 7-60+ | Debris removal, structural repairs, final finishes |
Frequently Asked Questions
Is it safe to clean fire damage yourself?
Minor surface soot on non-porous items can be cleaned with proper PPE (respirator, gloves, eye protection), but structural fire damage cleanup involves hazardous materials, unstable structures, and health risks. Professional assessment is critical. Smoke damage penetrates walls, insulation, and HVAC systems, areas DIY cleaning cannot safely reach. When in doubt, hire a certified restoration team to prevent exposure to toxic residue and structural collapse.
How long does the fire damage cleanup process take?
Timeline varies by damage extent. Emergency response and board-up occur within hours. Water extraction and initial drying take 3-7 days. Smoke and soot cleanup spans 1-3 weeks. Full structural repairs and reconstruction can extend 4-12 weeks depending on structural damage severity. Professional mitigation teams work faster than DIY efforts because they have industrial-grade dehumidification, air scrubbers, and demolition equipment on-site immediately.
What should I document for my fire damage insurance claim?
Photograph all damage before cleanup begins, burned materials, soot coverage, water damage, and structural harm. Keep receipts for any emergency repairs or temporary board-up services. Document the date and time of the fire and any emergency calls made. Create a detailed inventory of damaged items with pre-fire photos if available. Request a professional assessment report from your restoration company, as insurers require third-party documentation. Provide your adjuster with moisture mapping reports and air quality testing results to justify the full scope of remediation needed.
Why does soot keep coming back after cleaning?
Surface cleaning removes visible residue, but soot embeds in porous materials (drywall, insulation, wood), HVAC ducts, and behind walls. Incomplete removal allows residue to re-emerge when disturbed or as air circulates. Professional soot removal techniques include HVAC cleaning, structural drying to prevent moisture reactivation, and deodorization (thermal fogging or ozone treatment) to neutralize odors at the source. Proper mitigation prevents recurrence by addressing hidden contamination, not just visible surfaces.
This article was written using GrandRanker